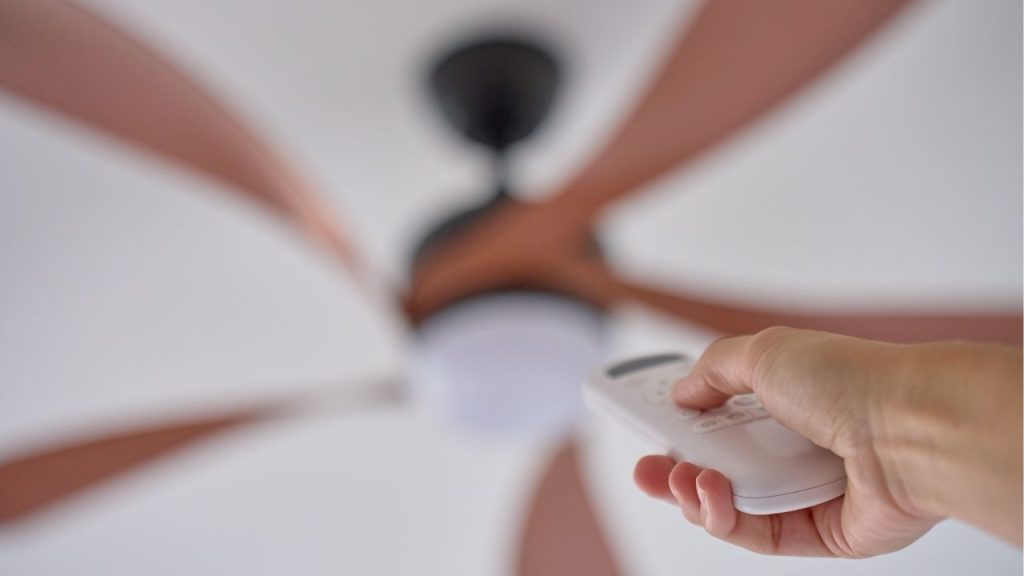
Have you ever replaced a ceiling fan remote or changed the batteries only to find the fan no longer responds? Learning how to sync ceiling fan remote controls can save time, money, and frustration. Whether you are troubleshooting a Hunter, Hampton Bay, Harbor Breeze, or another popular ceiling fan brand, the syncing process is usually simple once you know the right steps.
What Does It Mean to Sync a Ceiling Fan Remote?
Syncing a ceiling fan remote means pairing the remote transmitter with the fan’s receiver so both communicate on the same signal. If the fan and remote are out of sync, the light may not turn on, the fan speed may not change, or the remote may stop working completely.
This process is also called pairing, connecting, or programming a ceiling fan remote. In most cases, you only need a few minutes to complete it.
Before You Start
Before you try to sync ceiling fan remote controls, make sure you have the following:
Check the Batteries
Weak or dead batteries are one of the most common reasons a remote fails to work. Replace them with fresh batteries before starting.
Turn Off the Power
Switch off the ceiling fan at the wall switch or circuit breaker for safety. Wait about 30 seconds before restoring power.
Locate the Receiver and DIP Switches
Some remotes use DIP switches, which are tiny switches inside the remote and receiver that must match. Others use a learning code or pairing button.
How to Sync Ceiling Fan Remote
The exact method depends on your fan model, but these general steps work for many ceiling fan remote setups.
Method 1: Use the Learn Button
- Turn off power to the fan for 10 to 30 seconds.
- Restore power to the fan.
- Within 60 seconds, press and hold the remote’s learn, pair, or sync button.
- Hold it for 3 to 10 seconds until the fan light blinks or the fan responds.
- Test the remote to confirm the connection.
This is one of the most common ways to sync ceiling fan remote systems on newer models.
Method 2: Match the DIP Switches
- Turn off power to the fan.
- Remove the battery cover from the remote.
- Find the small DIP switches in the remote and in the receiver inside the fan canopy.
- Make sure both switch patterns match exactly.
- Restore power and test the remote.
If the remote was replaced, this method is especially important because the receiver and remote must use the same code.
Method 3: Reset and Re-Pair
If the remote still does not work, try a full reset:
- Turn off the fan power for at least 1 minute.
- Remove the remote batteries.
- Restore power to the fan.
- Reinstall the batteries.
- Press the pairing button again.
Troubleshooting Common Problems
The Remote Still Does Not Work
If you cannot sync ceiling fan remote controls successfully, check these issues:
- Batteries are inserted incorrectly
- The receiver is faulty
- The fan brand requires a specific pairing sequence
- Another remote is interfering with the signal
The Fan Works but the Light Does Not
Some remotes control the fan and light separately. Try re-pairing the remote and make sure the light bulb is compatible with the dimmer function.
The Remote Is New but Not Matching the Fan
Not all ceiling fan remotes are universal. Verify the model number and confirm compatibility with your fan brand before purchasing a replacement.
When to Replace the Receiver
If syncing fails after several attempts, the receiver may be damaged. A bad receiver can prevent the fan from responding even if the remote is working properly. Replacing the receiver and remote together is often the best solution for older ceiling fans.
Final Tips
Knowing how to sync ceiling fan remote controls makes it easier to restore comfort and convenience in your home. Always start with fresh batteries, confirm the remote is compatible, and follow your fan manufacturer’s instructions when available. With the right steps, most ceiling fan remote pairing issues can be fixed quickly and safely.
Before diving into the steps of syncing, it's important to know how to program remote for ceiling fan to ensure proper functionality after troubleshooting.