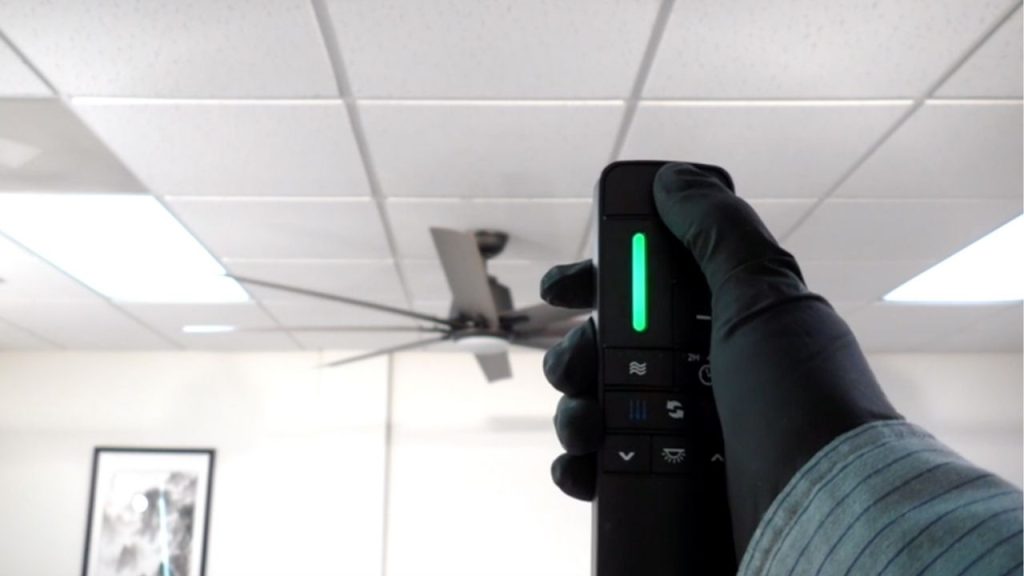
Have you ever wondered why your ceiling fan remote stops working or how to sync a new one in just a few minutes? Learning how to program remote for ceiling fan is easier than most homeowners think, and with the right steps, you can get your fan and remote working together quickly. Whether you are replacing a lost remote, setting up a universal ceiling fan remote, or troubleshooting a fan that will not respond, this step by step guide will walk you through the process.
What You Need Before You Start
Before you program remote for ceiling fan, make sure you have the following items ready:
1. A compatible remote
Check that the remote is designed for your ceiling fan brand or is a universal ceiling fan remote that supports your model.
2. Fresh batteries
Weak batteries are one of the most common reasons a ceiling fan remote does not pair correctly.
3. Access to the fan receiver
In many cases, the receiver is located inside the fan canopy, near the ceiling.
How to Program Remote for Ceiling Fan
Step 1: Turn off the power
Switch off power to the ceiling fan at the wall switch or circuit breaker. This is important for safety and helps reset the receiver if needed.
Step 2: Open the fan canopy if necessary
If your fan requires dip switch matching or receiver access, carefully remove the canopy cover to locate the receiver unit. Some ceiling fan remote control systems use matching codes inside the remote and receiver.
Step 3: Match the dip switches or pairing code
If your remote and receiver have dip switches, set both to the same position. If your model uses a pairing button, follow the manufacturer’s instructions to link the remote to the fan. This is one of the most important steps when learning how to program remote for ceiling fan models.
Step 4: Restore power
Turn the power back on to the ceiling fan. The receiver should now be ready to accept the remote signal.
Step 5: Test the remote
Press the fan speed buttons, light button, and power button to confirm the remote is controlling the fan. Test all functions to make sure the remote is fully programmed.
How to Sync a Ceiling Fan Remote With a Pairing Button
Some modern fans do not use dip switches. Instead, they use a pairing process.
1. Turn on the power
Restore electricity to the fan.
2. Press and hold the pairing button
Usually, this button is inside the battery compartment or on the remote face. Hold it until the fan light blinks or the fan responds.
3. Wait for confirmation
A beep, light flash, or fan movement often means the remote has been successfully synced.
Ceiling Fan Remote Troubleshooting Tips
If the remote still does not work after you program remote for ceiling fan use, try these fixes:
Replace the batteries
Install new batteries and make sure they are inserted correctly.
Check the dip switch settings
A mismatch between the remote and receiver will prevent communication.
Reset the fan
Turn off power for 30 seconds, then turn it back on and try again.
Confirm compatibility
Not all remotes work with all fans, especially if the fan uses a specific receiver frequency.
Final Thoughts
Knowing how to program remote for ceiling fan systems can save time, money, and frustration. In most cases, the process involves checking compatibility, matching the remote to the receiver, restoring power, and testing the functions. With a little patience, you can successfully program ceiling fan remote controls and enjoy convenient, reliable operation again.
Once you understand how to program remote for ceiling fan, you'll find that syncing the remote becomes a seamless task that can be completed in minutes.
If you're looking for specific instructions on pairing your new device, check out our guide on how to program new ceiling fan remote Shenzen for insights tailored to that model.