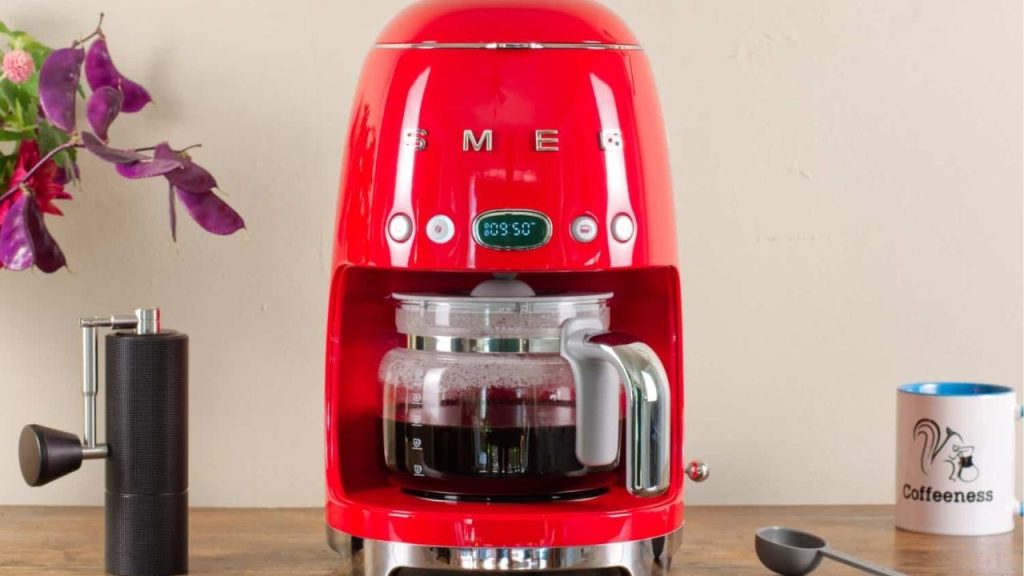
Ever wished your coffee could start brewing before you even get out of bed? Learning how to set timer on Smeg coffee maker can make that happen, giving you a fresh pot ready right when you want it. Whether you own a Smeg drip coffee machine with an auto-start feature or you’re just trying to program the clock correctly, this quick setup guide will help you get it done fast.
How to Set Timer on Smeg Coffee Maker
Setting the timer on a Smeg coffee maker is usually simple once you understand the control panel. Most Smeg coffee makers include a digital display, hour and minute buttons, and an auto-start or delay brew function. The exact steps may vary slightly by model, but the process is generally the same.
Step 1: Plug in the Coffee Maker and Set the Clock
Before you can program the timer, you need to set the correct time on the machine.
- Plug in your Smeg coffee maker.
- Press the clock or time button, if available.
- Use the hour and minute buttons to adjust the current time.
- Confirm the setting by pressing the clock button again or waiting a few seconds for it to save.
If the clock is not set correctly, the delayed brew function will not start at the right time.
Step 2: Add Water and Coffee Grounds
To use the timer properly, make sure the coffee maker is fully prepared.
- Fill the water reservoir with the amount of water you need.
- Place a paper or reusable filter in the basket.
- Add the desired amount of ground coffee.
- Put the carafe in place securely.
Most Smeg drip coffee makers will not allow the timer to begin brewing if the carafe is missing or not positioned correctly.
Step 3: Program the Auto-Start Timer
Now you can set the brew start time.
- Press the timer or auto-start button on the control panel.
- Use the hour and minute buttons to choose the time you want brewing to begin.
- Confirm the scheduled brew time.
- Make sure the timer indicator light appears on the display.
This is the key step in learning how to set timer on Smeg coffee maker. Once the timer is active, the machine will wait until the selected time and then begin brewing automatically.
Step 4: Check That the Timer Is Enabled
After programming the time, verify that the auto-start feature is on.
Look for a timer icon, illuminated display symbol, or a blinking indicator light. If nothing appears, the setting may not have saved correctly. In that case, repeat the programming steps.
Tips for Using the Smeg Coffee Maker Timer
To get the best results from your delayed brew function, keep these tips in mind:
Use Fresh Coffee Grounds
Coffee that sits too long in the basket can lose flavor. For the best taste, measure your grounds right before setting the timer.
Clean the Machine Regularly
Mineral buildup can affect brewing performance and timing. Descale your Smeg coffee maker according to the manufacturer’s instructions.
Test the Timer After Power Outages
If the power goes out, the clock may reset. You may need to set the time and timer again before the next brew cycle.
Consult Your Model Manual
Different Smeg coffee maker models may have slightly different control layouts. If your buttons do not match these steps, check the user manual for your exact model.
Troubleshooting Timer Problems
If your Smeg coffee maker timer is not working, check these common issues:
The Clock Is Incorrect
The timer depends on the current time being set accurately.
The Timer Was Not Confirmed
Some models require you to press a final button to save the setting.
The Carafe Is Not in Place
The machine may not start if the carafe is missing or not seated properly.
The Machine Needs Cleaning
A dirty coffee maker can sometimes interfere with proper operation.
Final Thoughts
Now you know how to set timer on Smeg coffee maker in just a few easy steps. Once the clock is set and the auto-start function is programmed, you can wake up to freshly brewed coffee without any hassle. For busy mornings, this feature is one of the most convenient parts of owning a Smeg coffee maker.