Ever wondered why your Keurig coffee maker seems simple, yet the first brew can still feel a little confusing? If you are searching for how to start Keurig coffee maker, this quick guide will walk you through the process step by step so you can make a fresh cup of coffee with confidence.
How to Start Keurig Coffee Maker
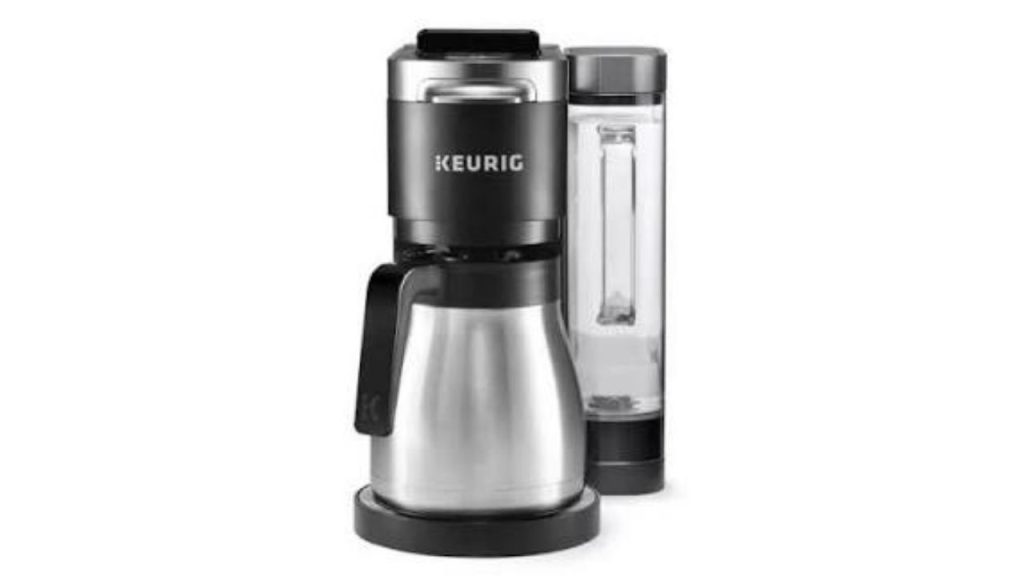
Starting a Keurig coffee maker is usually easy, but the exact steps can vary slightly by model. Whether you own a classic Keurig, a Keurig K-Compact, or a newer single-serve brewer, the basic process is the same.
Step 1: Plug in the machine
Place your Keurig on a flat, stable surface and plug it into a grounded outlet. Make sure the water reservoir is properly attached if your model has one.
Step 2: Turn on the brewer
Press the power button to start the Keurig coffee maker. Most models will begin heating the water automatically. You may see lights blinking while the machine warms up. This usually takes about 1 to 3 minutes.
Step 3: Fill the water reservoir
If your Keurig has a removable water reservoir, lift it out and fill it with clean, fresh water. Avoid overfilling past the max line. For best results, use filtered water to improve taste and reduce mineral buildup.
Step 4: Run a cleansing brew
Before making your first cup, it is a good idea to run a water-only cycle. This helps flush out any dust or residue from manufacturing and shipping.
To do this:
- Place a large mug on the drip tray
- Open and close the K-Cup pod holder without inserting a pod
- Select the largest brew size if available
- Press brew
Repeat this process once or twice if needed until the water runs clear.
How to Use a Keurig Coffee Maker for the First Time
If you just bought your brewer, the first-time setup is important. Learning how to start Keurig coffee maker correctly helps protect the machine and improve your coffee flavor from the beginning.
Step 1: Insert a K-Cup pod
Lift the handle and place your favorite K-Cup pod into the pod holder. Do not remove the foil lid from the pod, since Keurig machines puncture it automatically.
Step 2: Close the lid firmly
Push the handle down until it locks into place. This allows the machine to pierce the pod and prepare for brewing.
Step 3: Choose your cup size
Select the brew size that matches your mug. Smaller cups usually produce a stronger coffee, while larger settings give you more coffee with a lighter taste.
Step 4: Press brew
Once the brewer has finished heating, press the brew button. The coffee will start flowing into your cup within moments.
Common Reasons Your Keurig Will Not Start
Sometimes a Keurig coffee maker will not turn on or brew properly. If that happens, check these common issues:
The machine is not plugged in
This may seem obvious, but it is one of the most common reasons a brewer will not start.
The water reservoir is empty or not seated correctly
Many Keurig models will not brew if the reservoir does not have enough water or is not aligned properly.
The lid is not closed all the way
If the K-Cup holder is open or loose, the machine may not begin brewing.
The brewer needs time to heat up
Some models take a few minutes before they are ready to brew. Wait for the ready light before pressing brew.
Tips for Better Keurig Brewing
If you want the best cup possible after learning how to start Keurig coffee maker, keep these tips in mind:
- Clean the machine regularly
- Descale it every few months if you have hard water
- Use fresh water in the reservoir
- Match the brew size to your coffee strength preference
- Store K-Cup pods in a cool, dry place
Final Thoughts
Knowing how to start Keurig coffee maker makes your morning routine faster and easier. Once the machine is plugged in, filled with water, warmed up, and loaded with a K-Cup pod, you are just one button press away from a hot, satisfying cup of coffee. If your brewer does not start right away, a quick check of the water level, power connection, and lid position usually solves the problem.