Have you ever wondered why hockey gear can smell so bad after just a few practices? Hockey equipment absorbs sweat, bacteria, and moisture fast, which is why many players search for the safest way to clean it. If you are looking for how to wash hockey gear in washing machine without damaging pads, gloves, or base layers, the good news is that some items can be machine washed the right way. The key is knowing what to wash, what to skip, and how to protect both your gear and your washer.
Can You Wash Hockey Gear in a Washing Machine?
Yes, some hockey gear can go in the washing machine, but not all of it. Soft items like base layers, compression shirts, practice jerseys, socks, and some removable liners are usually safe to wash in a machine. Hard-shell protective gear, helmets, skates, and items with glued parts or delicate padding should not be machine washed.
Before you start, always check the care label on the equipment. When in doubt, hand wash or spot clean instead of risking damage.
What Hockey Gear Is Safe to Machine Wash?
The safest items to wash in a washing machine include:
Washable hockey clothing
- Base layers
- Underwear designed for sports
- Hockey socks
- Practice jerseys
- Neck gaiters and sweat liners
Sometimes washable with caution
- Shoulder pad liners
- Elbow pad liners
- Padded shorts with removable inserts
These items should be washed on a gentle cycle and only if the manufacturer says they are machine washable.
What Hockey Gear Should Never Go in the Washer?
Some hockey gear should never be put in a washing machine because it can lose shape, crack, or break down.
Do not machine wash:
- Helmet
- Skates
- Gloves with fragile stitching or leather parts
- Chest protectors with hard inserts
- Shin guards
- Goalie gear unless the tag specifically says it is safe
- Items with Velcro left open, since it can snag fabric
If the gear has metal, thick foam, or molded plastic, avoid the washer.
How to Wash Hockey Gear in Washing Machine the Safe Way
If you are washing approved gear, follow these steps for the best results.
1. Pre-treat heavy odor and stains
Spray sweaty areas with a mild stain remover or a sports detergent. Let it sit for 10 to 15 minutes. This helps lift odor and grime before the wash cycle.
2. Close all straps and fasteners
Secure Velcro, zippers, and buckles. This prevents snagging and protects both the gear and the drum.
3. Use a mesh laundry bag
Place smaller items like socks, liners, and jerseys in a mesh bag. This keeps them from tangling and stretching.
4. Choose cold water and a gentle cycle
Cold water helps preserve fabric and padding. A gentle or delicate cycle is the safest option for washing hockey gear in washing machine.
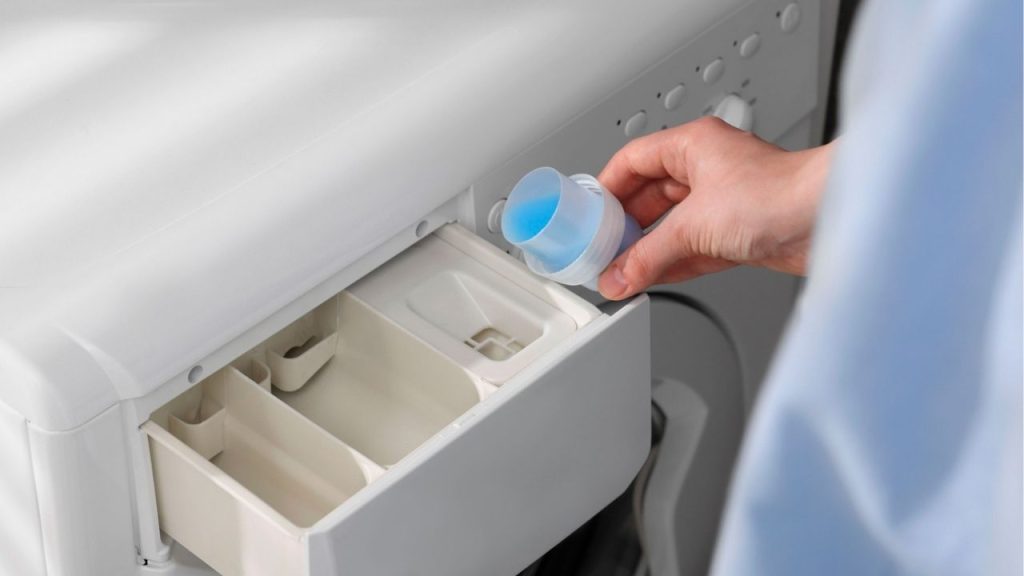
5. Use the right detergent
Use a mild, sports-safe detergent. Avoid bleach and fabric softener, since they can damage performance fabrics and leave behind residue that traps odor.
6. Wash gear separately
Never mix hockey gear with towels, jeans, or everyday clothes. Wash the equipment load by itself so dirt and sweat do not transfer to other laundry.
How to Dry Hockey Gear After Washing
Air drying is the best choice. Hang items in a well-ventilated area or place them on a drying rack. Avoid high heat in the dryer because it can shrink fabric, weaken adhesives, and damage padding.
If your washer has a spin cycle, use it to remove excess water, but do not overdo it. The goal is to dry quickly without stressing the gear.
Extra Tips to Remove Hockey Gear Odor
To keep gear fresher longer:
- Wash it as soon as possible after use
- Let gear air out before putting it in a bag
- Use odor-eliminating laundry additives only if they are safe for athletic fabrics
- Clean the washing machine after washing gear to prevent lingering smells
Final Thoughts
Knowing how to wash hockey gear in washing machine the safe way helps extend the life of your equipment and keeps odors under control. Stick to washable items, use cold water and a gentle cycle, and always air dry afterward. When treated properly, your hockey gear will stay cleaner, fresher, and ready for the next game.