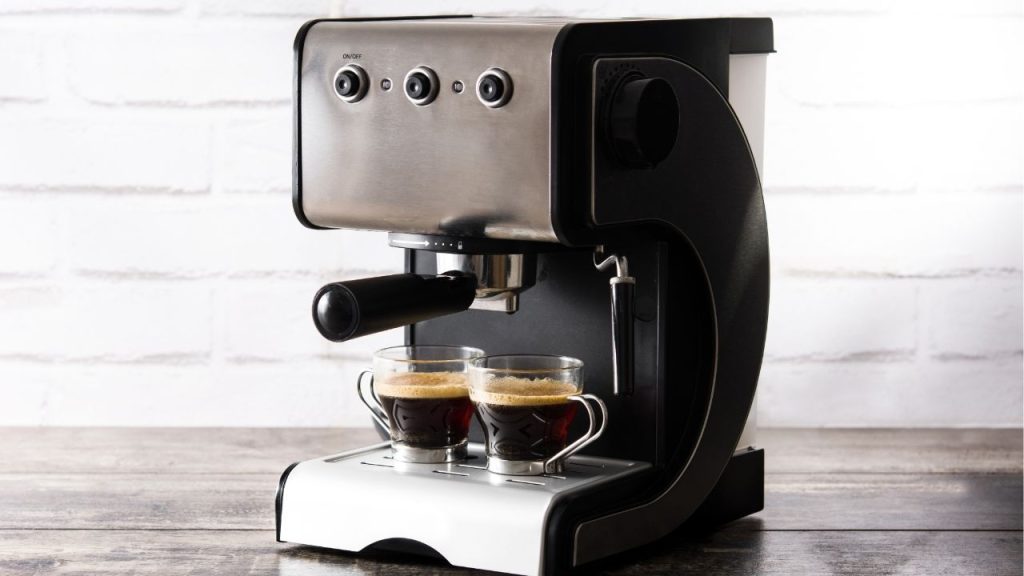
Have you ever noticed that your coffee tastes bitter, stale, or just off even when you use good beans? The answer may be hiding in your machine. Knowing how to wash coffee machine parts the right way is essential for better flavor, longer appliance life, and a cleaner brewing experience. Whether you use a drip coffee maker, single-serve brewer, or espresso machine, regular cleaning helps remove mineral buildup, coffee oils, and residue that can affect every cup.
Why You Should Wash Your Coffee Machine Regularly
Coffee machines collect more than just water and grounds. Over time, oils from coffee beans, hard water deposits, and mold-friendly moisture can build up inside the machine. If you do not clean your coffee maker regularly, the taste can turn bitter and the machine may brew more slowly or stop working efficiently.
A clean coffee machine also supports better hygiene and helps extend the lifespan of the appliance. If you want consistent flavor and reliable performance, learning how to wash coffee machine components should be part of your routine.
What You Need Before You Start
Before cleaning your coffee maker, gather a few simple supplies:
- Mild dish soap
- Warm water
- White vinegar or a descaling solution
- A soft sponge or cloth
- A clean brush for small parts
- Fresh water for rinsing
Always check the manufacturer’s manual first, especially if you own a specialty machine. Some parts may be dishwasher-safe, while others need hand washing only.
Step-by-Step Instructions on How to Wash Coffee Machine
1. Turn Off and Unplug the Machine
Safety comes first. Before you wash coffee machine parts, make sure the appliance is turned off, unplugged, and completely cool. Empty any leftover coffee or water from the reservoir and carafe.
2. Remove All Detachable Parts
Take out the filter basket, carafe, water reservoir, drip tray, and any removable lid or frother parts. These pieces usually collect the most residue and need separate cleaning.
3. Wash Removable Parts with Soap and Warm Water
Use mild dish soap and warm water to wash the removable parts. A soft sponge works best for glass, plastic, and metal surfaces. Avoid abrasive scrubbers that can scratch the finish. Rinse thoroughly to remove any soap residue.
4. Clean the Exterior
Wipe down the outside of the coffee machine with a damp cloth. Pay attention to buttons, the warming plate, and any area where coffee drips may have dried. Use a little dish soap if needed, but do not let water seep into electrical parts.
5. Descale the Interior
One of the most important steps in how to wash coffee machine systems is descaling. Fill the water reservoir with a mixture of equal parts white vinegar and water, or follow the instructions for a store-bought descaler. Run a full brew cycle without coffee grounds.
After the cycle ends, let the solution sit for 10 to 15 minutes if your manual recommends it. Then run one or two more cycles with plain water to flush out any vinegar smell or leftover buildup.
6. Clean the Spray Head and Small Openings
Use a small brush, toothpick, or soft cloth to remove residue from the spray head and other tight areas. These spots often trap mineral deposits and coffee particles that affect brewing performance.
7. Dry and Reassemble
Let all parts air dry completely before putting the machine back together. Reassemble the coffee maker once everything is dry and clean.
How Often Should You Wash Your Coffee Machine
For best results, wash removable parts after every use or at least once a day if you brew regularly. Deep clean and descale your coffee machine every 1 to 3 months, depending on water hardness and how often you use it.
Final Tips for a Cleaner Brew
If you want your coffee to taste fresher, never leave old grounds sitting in the basket or water in the reservoir overnight. Consistent cleaning is the best way to maintain performance and flavor. By following these simple steps on how to wash coffee machine parts, you can enjoy better coffee and keep your appliance in top condition.