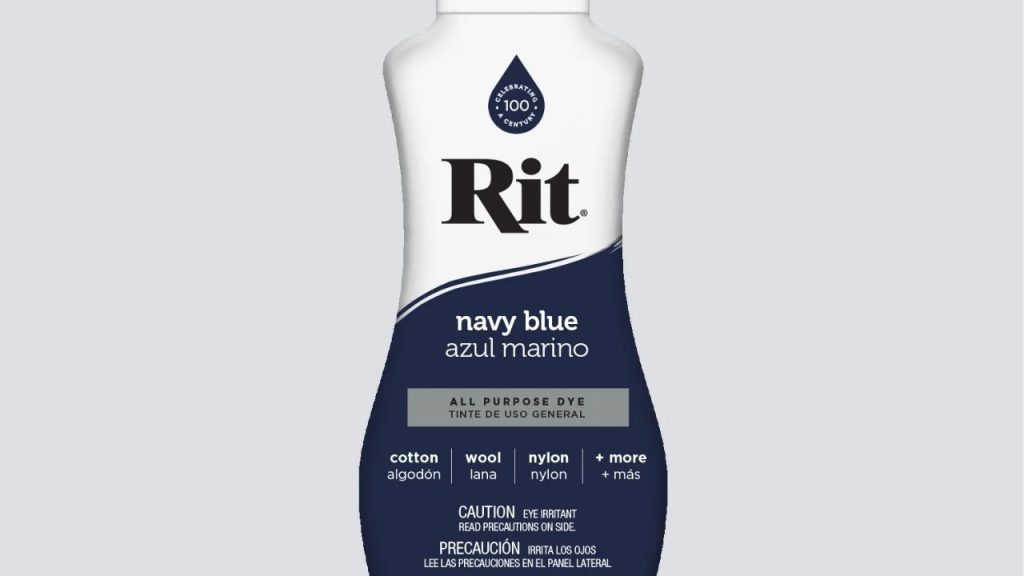
Have you ever wondered why some dyed clothes turn out rich and even while others end up patchy or faded? If you are learning how to use rit dye in washing machine, the good news is that this method can deliver professional-looking results when done correctly. Rit dye is a popular choice for refreshing faded clothing, changing fabric color, and giving old textiles a new life. The key is to prepare the fabric, use the right water temperature, and follow the proper washing machine dyeing steps.
What Fabrics Work Best with Rit Dye in a Washing Machine
Before you start, check the fabric content. Rit dye works best on natural fibers like cotton, linen, silk, wool, ramie, and rayon. These materials absorb color well and usually produce the strongest results.
Fabrics That May Not Dye Well
Polyester, acrylic, nylon, and other synthetic fabrics can be harder to dye with standard Rit dye. If your item contains a blend, the final color may look lighter because only the natural fibers will absorb the dye. For polyester-rich fabrics, Rit DyeMore is usually a better choice.
What You Need Before You Start
To get the best results when using Rit dye in washing machine, gather these basic supplies:
Supplies Checklist
- Rit dye
- Washing machine
- Hot water
- Salt for cotton, linen, and rayon
- White vinegar for silk and wool
- Rubber gloves
- Measuring cup
- Old towels or rags
Always remove any detergent, bleach, or fabric softener residue before dyeing. These can interfere with color absorption.
How to Use Rit Dye in Washing Machine
The washing machine dye method is simple, but timing matters. Here is the best approach for even, long-lasting color.
Step 1: Pre-Wet the Fabric
Wet the fabric thoroughly with warm water before placing it in the washer. Damp fabric absorbs dye more evenly than dry fabric and helps reduce spotting.
Step 2: Add the Dye
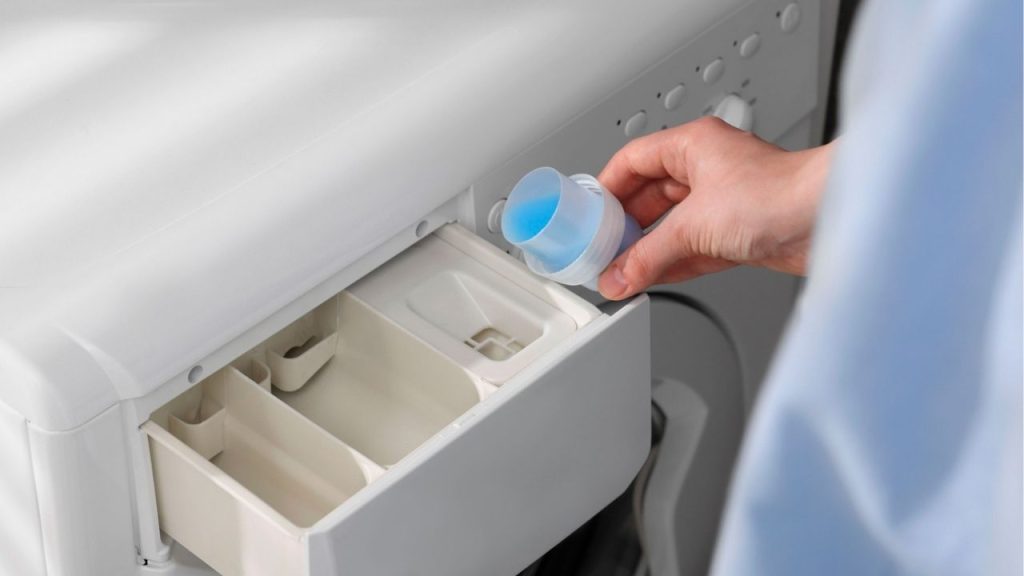
Set the washing machine to the hottest water setting available. Add the recommended amount of Rit dye directly into the drum or detergent dispenser, depending on your machine type. For deeper color, use more dye. For lighter shades, use less.
Step 3: Add Salt or Vinegar
For natural fabrics, add salt to help the dye bond. For silk and wool, vinegar is often recommended instead. Follow the dye package instructions for the right amount based on load size.
Step 4: Run the Cycle
Let the washer agitate the fabric in the dye bath for at least 30 minutes. If your machine allows, pause the cycle occasionally to check the color. A longer soak usually produces deeper results.
Step 5: Rinse and Wash Again
After the dye cycle, run a warm rinse cycle. Then wash the item separately with mild detergent to remove excess dye. This helps prevent color transfer later.
Tips for the Best Results
If you want the most even finish, avoid overloading the washer. Give the fabric room to move freely so the dye can circulate. Use one color at a time for better control, and test on a small area if you are unsure how the fabric will react.
Common Mistakes to Avoid
- Using too little water
- Dyeing synthetic-only fabrics
- Skipping the pre-wash
- Forgetting to clean the washing machine afterward
How to Clean the Washing Machine After Dyeing
After using Rit dye in washing machine, run an empty hot cycle with detergent and a little bleach if safe for your machine. This helps remove leftover dye and keeps future laundry loads clean.
Final Thoughts
Knowing how to use rit dye in washing machine can help you refresh clothing and home textiles with confidence. When you choose the right fabric, use hot water, and follow the correct cycle, you can achieve bold, even, and lasting color with minimal effort.